Students
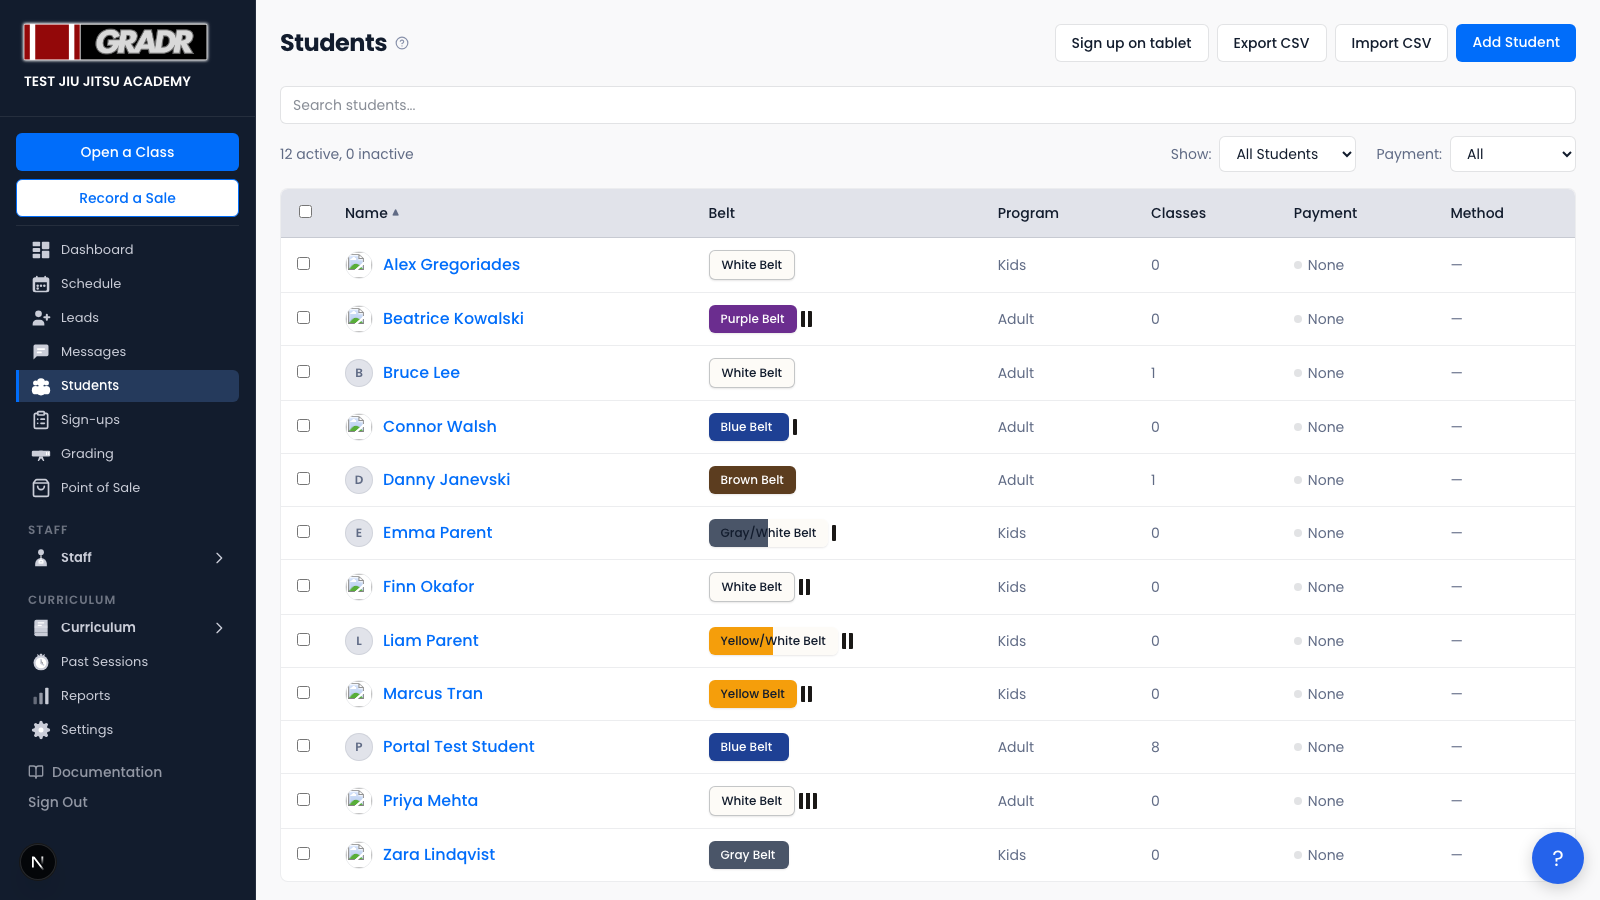
Your full active student roster. Students are added when you create them manually, import a CSV, or when someone completes the online sign-up flow. Use filters and search to find anyone quickly, and click a name to open their full profile.
Finding a Student
- Use the search bar to find by name.
- Use the activity filter to show only recently active or inactive students.
- Use the payment status filter to filter by billing status: Active, Overdue, Suspended, Expired, or None. (Payment method, cash vs. Stripe, is a sortable column in the list, not a filter.)
The roster columns
The list shows Name, Belt, Program, Classes, Payment, and Method. Every column is sortable. Click a heading to reorder the roster by it.
Classes is each student's lifetime total at your gym.
If you set your own class-count requirements under Belt Requirements, this splits into two columns, because the lifetime total is no longer the number that decides a promotion:
- Total classes — every class the student has ever attended.
- Since last grading — classes attended since their most recent belt or stripe. This is the one to watch for their next promotion, and it resets each time they're graded.
The screenshot above is from a gym using the standard requirements, which is why it shows a single Classes column.
Adding a Student
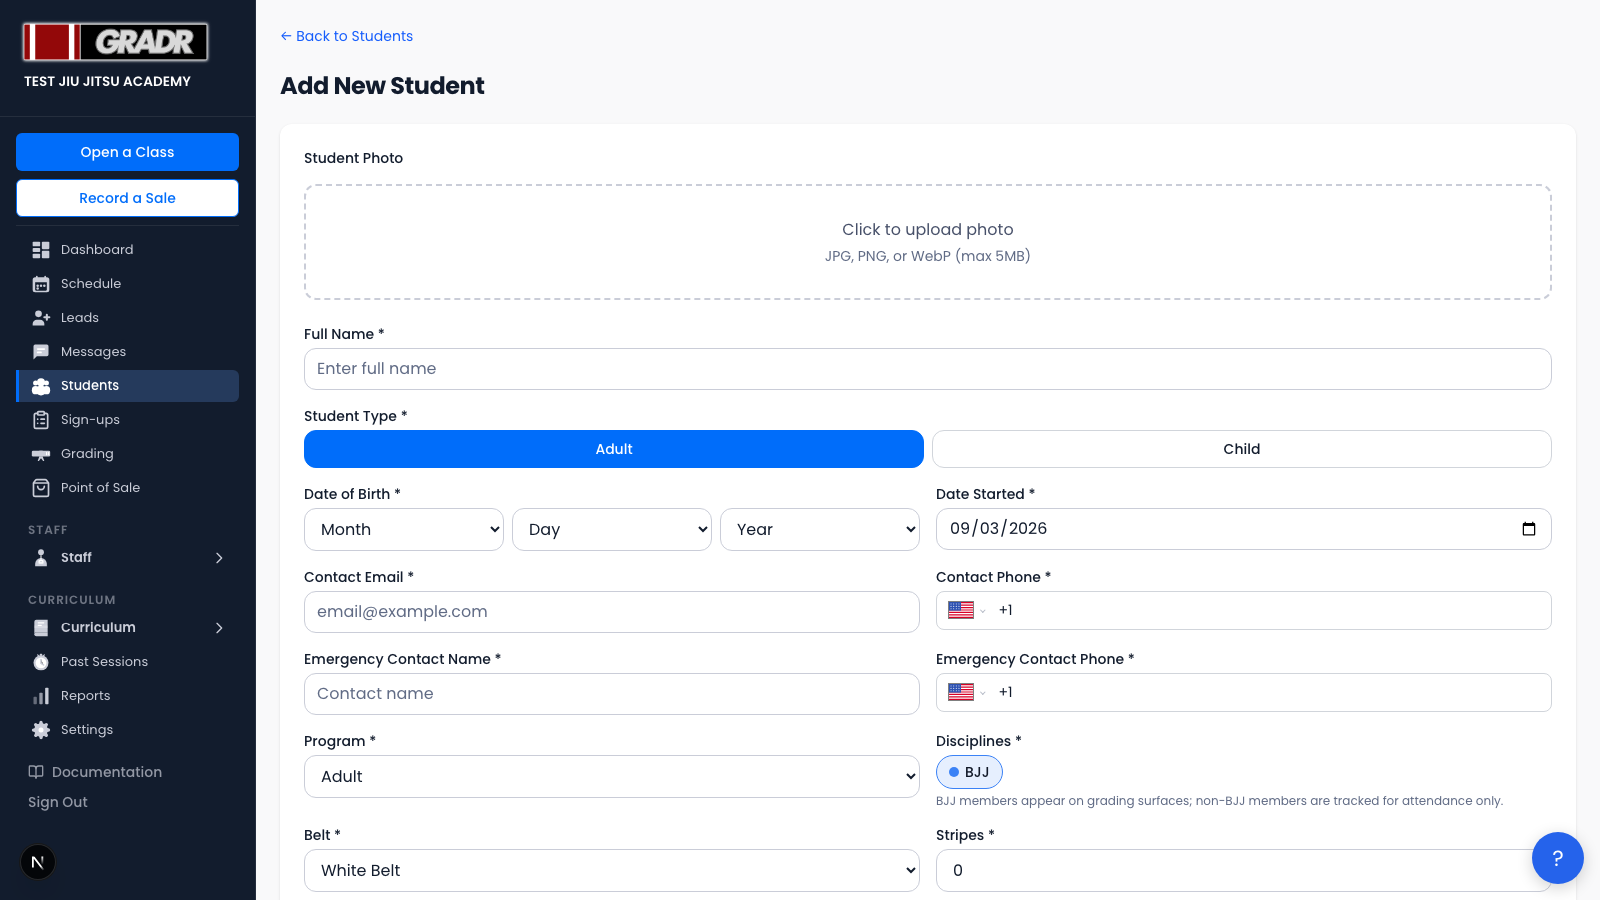
- Click Add Student.
- Enter the student's name, contact information, date of birth, and belt rank.
- Assign a membership tier and billing method.
- Optionally tick Enable portal access and send invite to give them the Student Portal straight away (see Giving a new student portal access below).
- Click Add Student to save.
If your gym teaches more than BJJ, the form also has a Disciplines field. Every student defaults to BJJ; adding a non-BJJ member is covered in Disciplines & Non-BJJ Members.
Adding a student who already has a belt
If you pick any belt other than White, a Transfer Student Details panel appears. This is for students arriving from another gym, and it keeps their promotion alerts honest from day one:

- When were they promoted to [belt]? — the date they earned their current belt. It must be a date in the past.
- Where were they promoted? — the gym or academy that awarded it, for your records.
- Started current belt on (optional) — sets the "time at current belt" anchor used by promotion alerts. Leave it blank if they started this belt at your gym. GRADR clears it automatically once you promote them to a new belt.
Giving a new student portal access
Tick Enable portal access and send invite on the Add Student form and GRADR emails the invite as soon as the student is created, so you don't have to come back and do it later.

The invite goes to the student's contact email, except for kids and under-18s, where it goes to the parent or guardian email instead. It falls back to the contact email if there's no parent address on file.
If the invite can't be sent, GRADR takes you to the new student's profile and tells you what happened, so you can fix the address and send it again from there. The student is still created either way.
Importing Students from CSV
- Click Import CSV.
- Download the CSV template to see required column names.
- Fill in your data and upload the file.
- Review the validation results and confirm the import.
Exporting the Roster
Click Export CSV to download your full student list. The export includes name, contact details, belt rank, membership tier, and billing status.
Student Profile
Clicking a student's name opens their profile. The profile is split into five tabs.
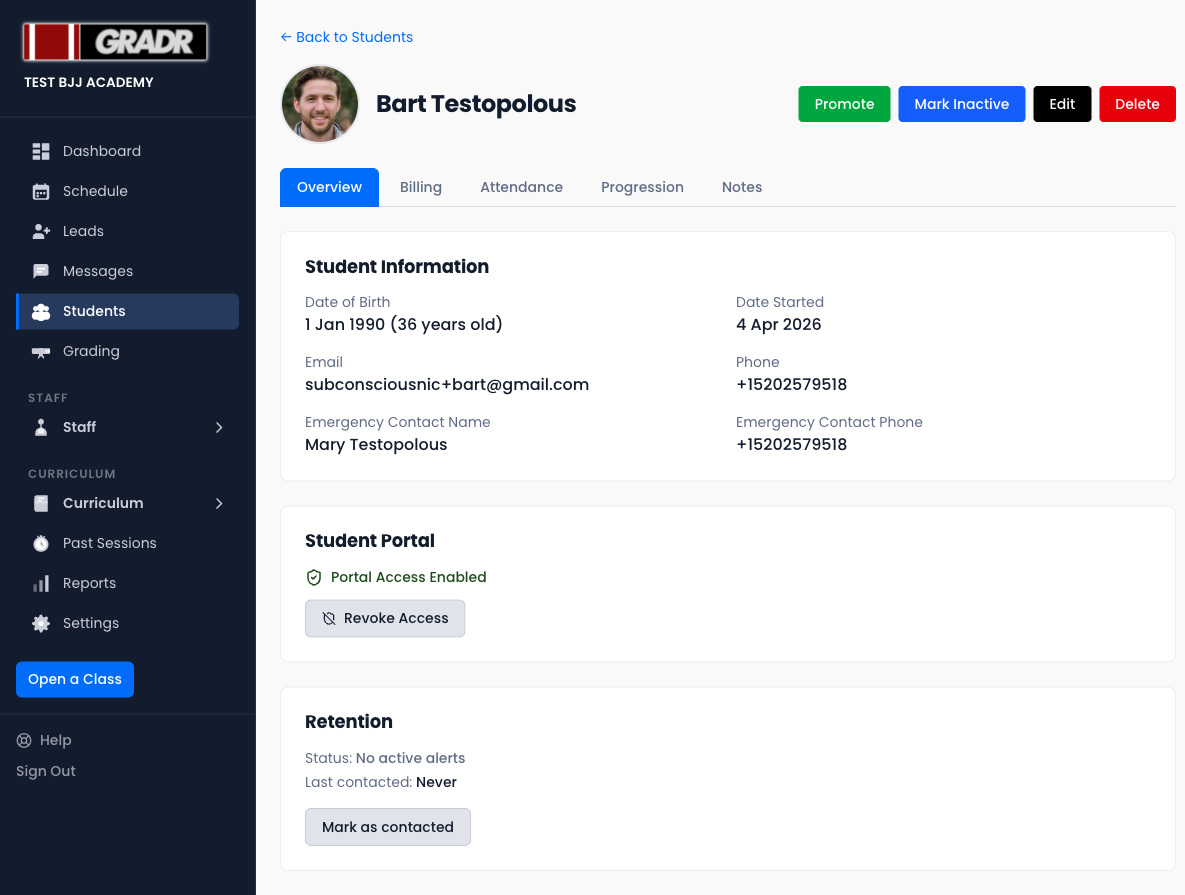
Overview — contact information, Student Portal access status, and retention alert state.
Billing — membership tier, payment method, billing status, next payment date, and family billing links.
Attendance — full check-in history across all classes, filterable by date.
Progression — belt rank tracking, promotion history, class count, and badges earned.
Notes — a free-form text field for private notes visible only to gym owners and staff.
Progression Tab
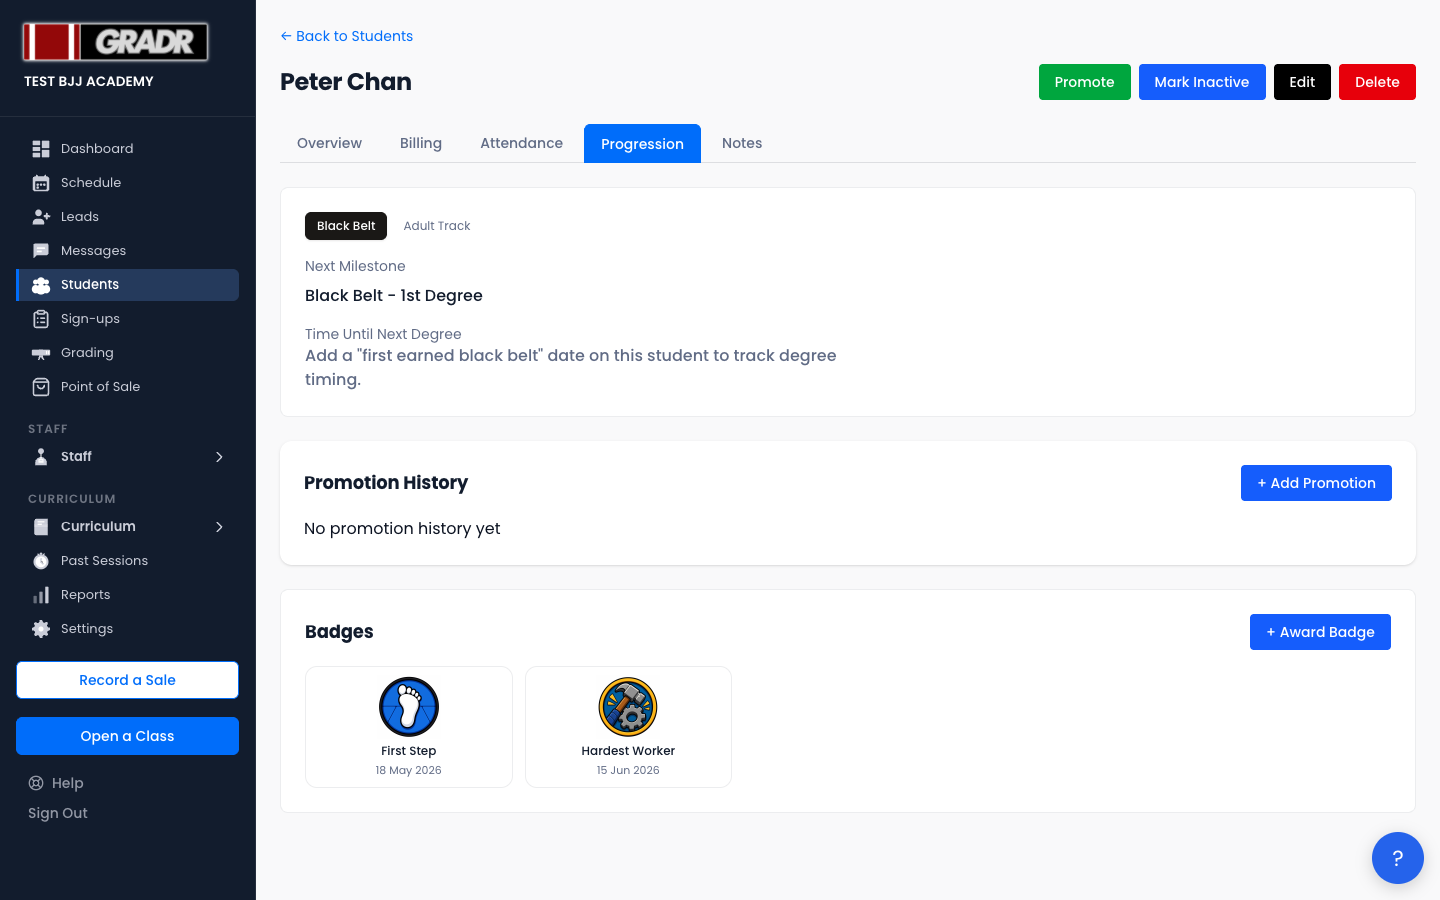
The Progression tab shows:
- Current belt rank and the next milestone (e.g., next stripe)
- How many classes remain before the student is eligible for promotion
- A full Promotion History — every belt promotion on record, with date and optional notes
- Badges earned by the student, with award dates
To manually record a promotion, click + Add Promotion, select the new belt rank, add any notes, and save. The student's belt rank updates immediately across their profile and the student roster.
To award a badge, click + Award Badge and select from the available badges.
:::warning Changing a belt or stripe on the Edit form is a promotion
If you change a student's belt or stripe count on the Edit Student form, GRADR records it as a real promotion. It writes an entry into their promotion history, updates their last grading date, and resets their Since last grading count to zero.
There is no confirmation step and no undo. This is deliberate: owners edit these fields to promote people, so GRADR treats it as the grading it almost always is.
The catch: if you're correcting a typo rather than promoting someone, that student's class count still resets. If you only need to fix a mistake in the record, edit the entry in Promotion History instead of changing the belt on the form. :::
Notes Tab
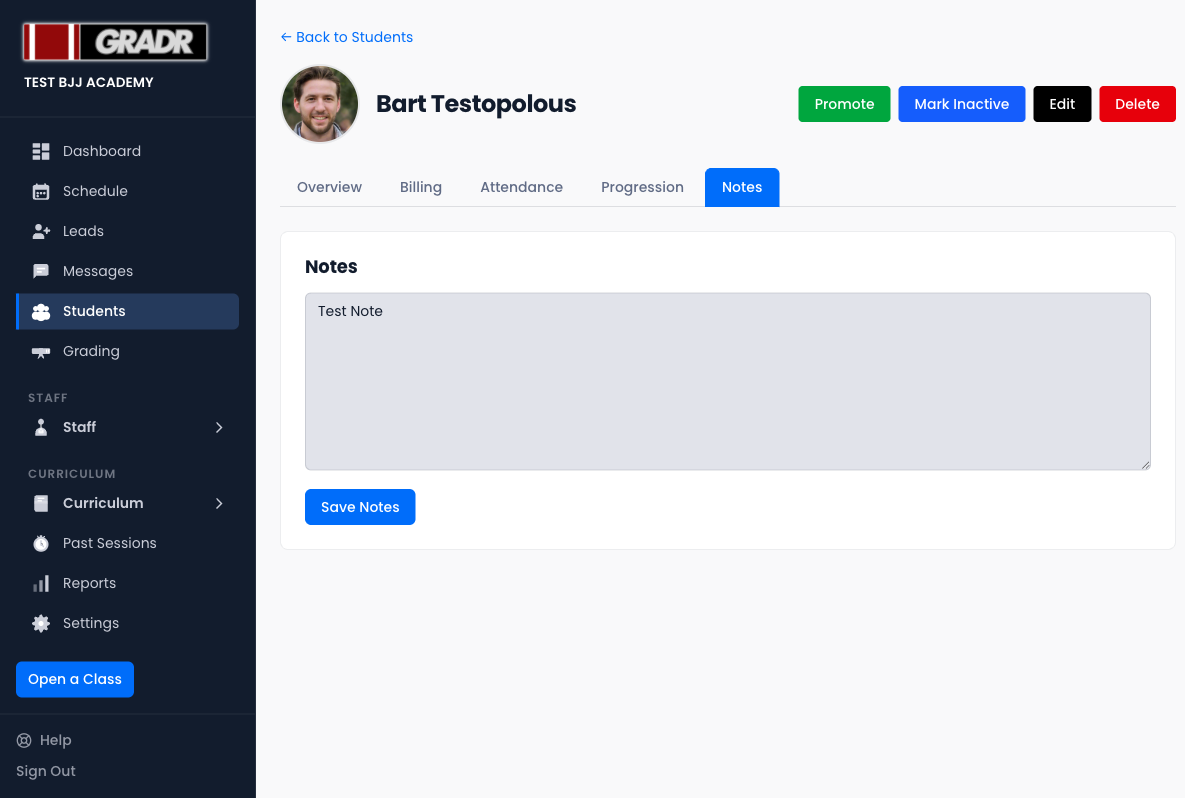
Use the Notes tab to record anything about a student that doesn't fit elsewhere: injury history, scheduling preferences, personal context. Notes are only visible inside the owner portal.
Text message consent
GRADR only sends a text to someone who has agreed to receive them. The Overview tab of every student profile shows their current status under Text messages.
You can't opt a student in yourself. Consent has to come from the person, so there's no switch for you to flip. Instead, click Ask for SMS opt-in on their profile. GRADR emails them a link to a page where they choose for themselves, and their status updates automatically once they answer.
Students can also opt in or out at any time from Settings in their own Student Portal, and can change their mind later without asking you.
Instructors work the same way. Open an instructor from the Instructors page and use the same Ask for SMS opt-in button in their Edit panel.
This is why an SMS campaign reaches fewer people than an email one. If a text send looks like it's going to a small fraction of your roster, it's because the rest haven't opted in. See Who can receive a text.
Archiving a Student
Students who are no longer active can be archived to remove them from the main list without permanently deleting their records. Archiving keeps their history intact for your records.